FIXCER SOLUTIONS FOR BUILDING
SWIMMING POOL DECKS
How can successful swimming pool decks be built?
These are the 6 essential points for the correct
execution of a swimming pool deck.
Take note!
Construction of the base screed
Sealing of movement joints
Mortar screeds for slopes
Waterproofing and bonding of ceramics
Non-slip ceramic grouting
Sealing of expansion joints
PRODUCTS GUIDE
MORTAR SCREEDS
Discover
how to make
slopes on
the deck:
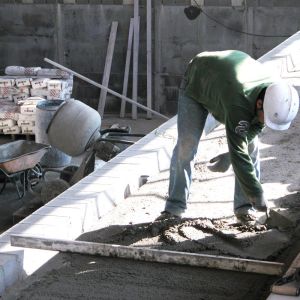
The final thickness of the mortar screed will depend on the calculation of the slopes and whether or not the screed needs to be thermally insulated with extruded polystyrene. These thicknesses should respectively be determined by the Project Management.
Discover
how to make
slopes on
the deck:
The final thickness of the mortar screed will depend on the calculation of the slopes and whether or not the screed needs to be thermally insulated with extruded polystyrene. These thicknesses should respectively be determined by the Project Management.
HOW TO WATERPROOF THE DECK
The aim is
to achieve
maximum
watertightness
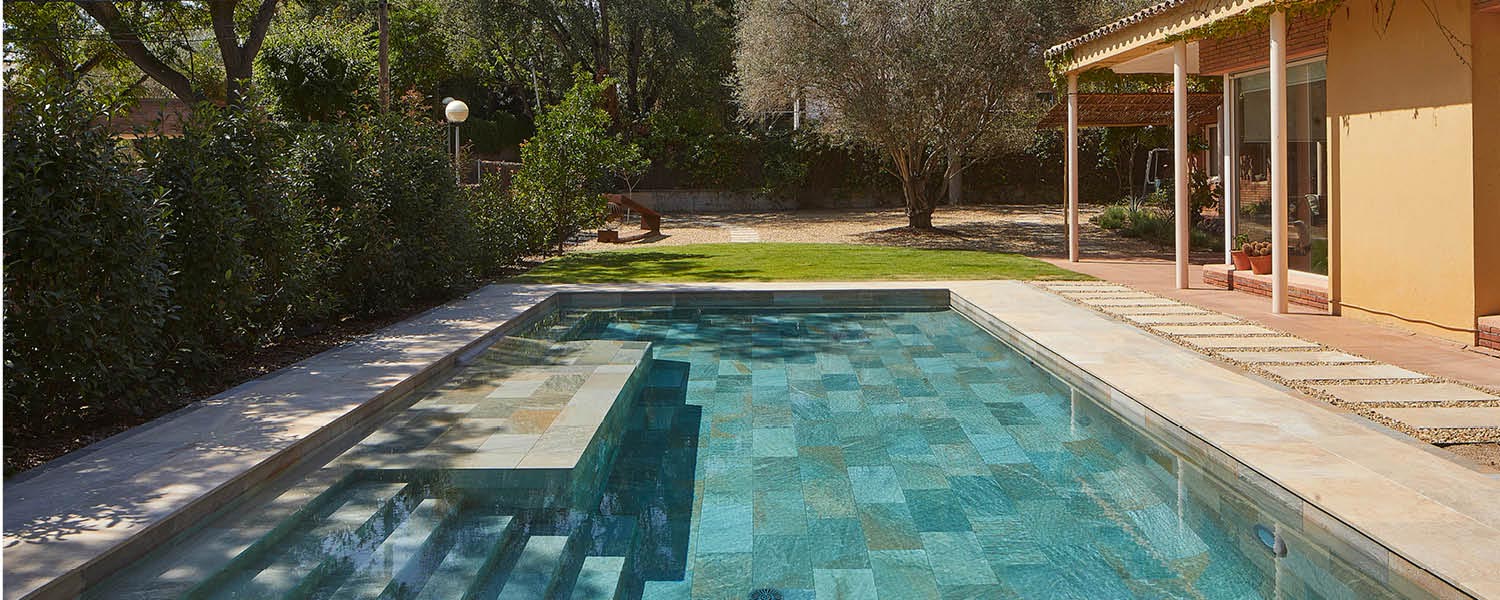
We offer you the two solutions that, based on our long experience, offer the strongest guarantees. Don’t forget that the swimming pool deck is exposed to water and sun and it is very important to protect it in order to increase its durability and aesthetics:
ACRYLIC
WATERPROOFING
WATERPROOFING
WITHLAMINA PROOF
The aim is
to achieve
maximum
watertightness
We offer you the two solutions that, based on our long experience, offer the strongest guarantees. Don’t forget that the swimming pool deck is exposed to water and sun and it is very important to protect it in order to increase its durability and aesthetics:
ACRYLIC
WATERPROOFING
WATERPROOFING
WITHLAMINA PROOF
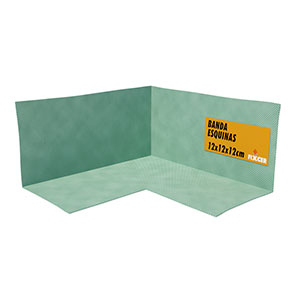
HYDROFACIL: FAST AND CONTINUOUS ACRYLIC WATERPROOFING
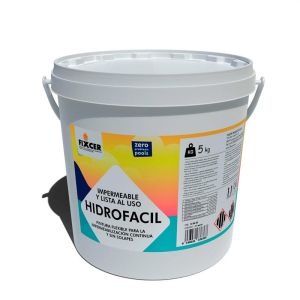
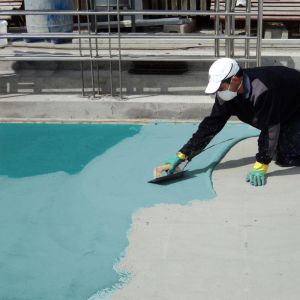
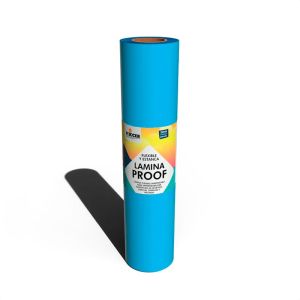
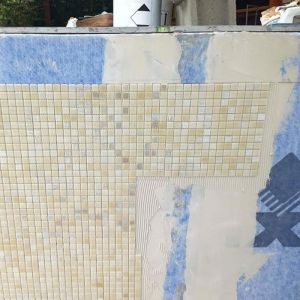
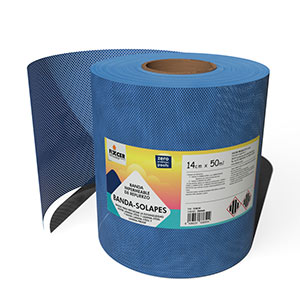
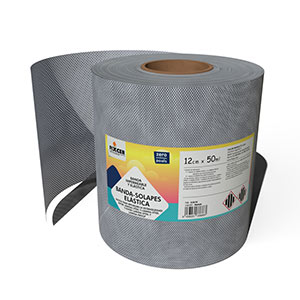
LÁMINA PROOF: PRACTICAL AND SAFE WATERPROOFING
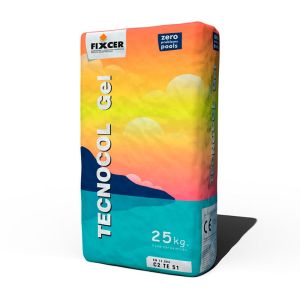
HOW TO GLUE CERAMIC TILES
The key to
perfect
placement
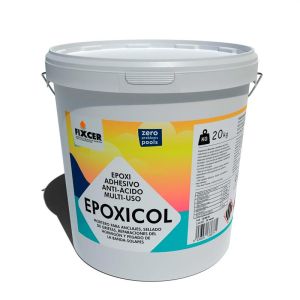
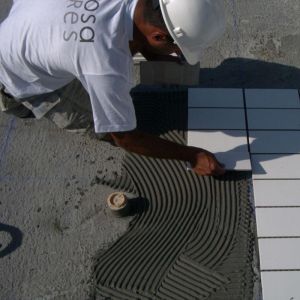
Laying ceramic tiles with the right product is a key decision in order to achieve maximum durability and resistance of the flooring. Follow the step-by-step installation process for a perfect finish.
SEE OUR STEP-BY-STEP
INSTALLATION VIDEOS
The key to
perfect
placement
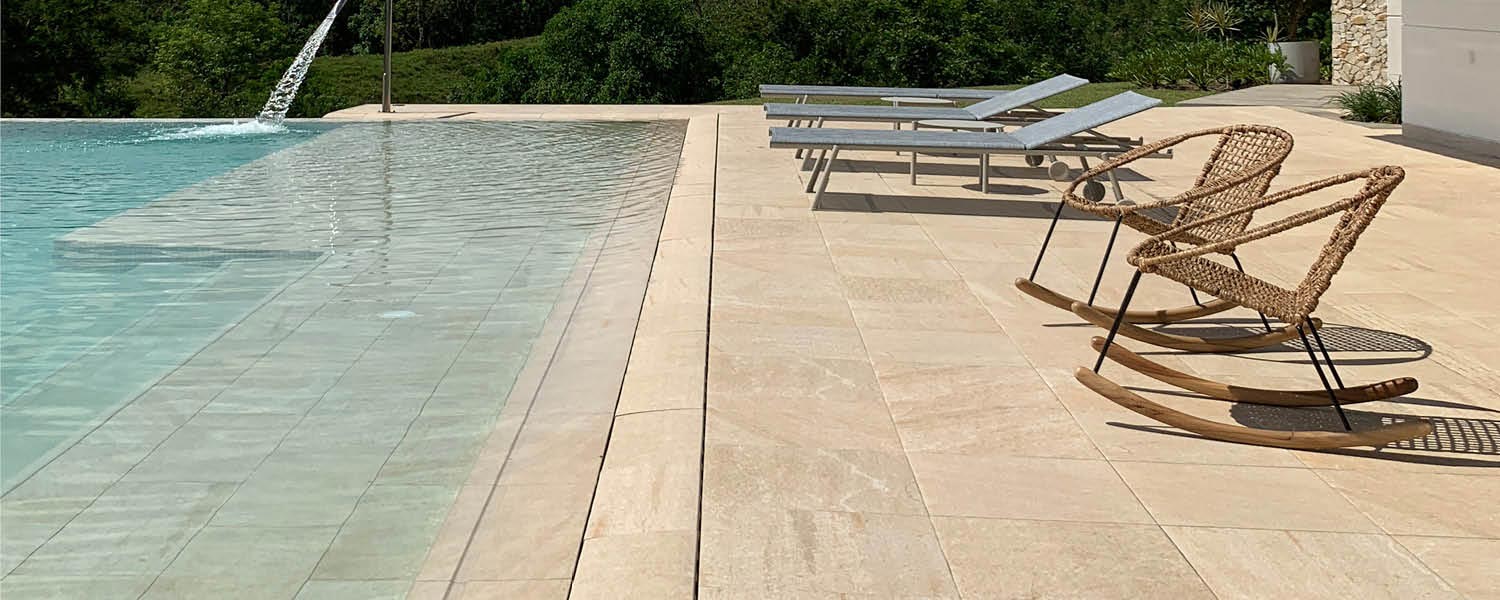
Laying ceramic tiles with the right product is a key decision in order to achieve maximum durability and resistance of the flooring. Follow the step-by-step installation process for a perfect finish.
SEE OUR STEP-BY-STEP
INSTALLATION VIDEOS
HOW TO GROUT NON-SLIP CERAMICS
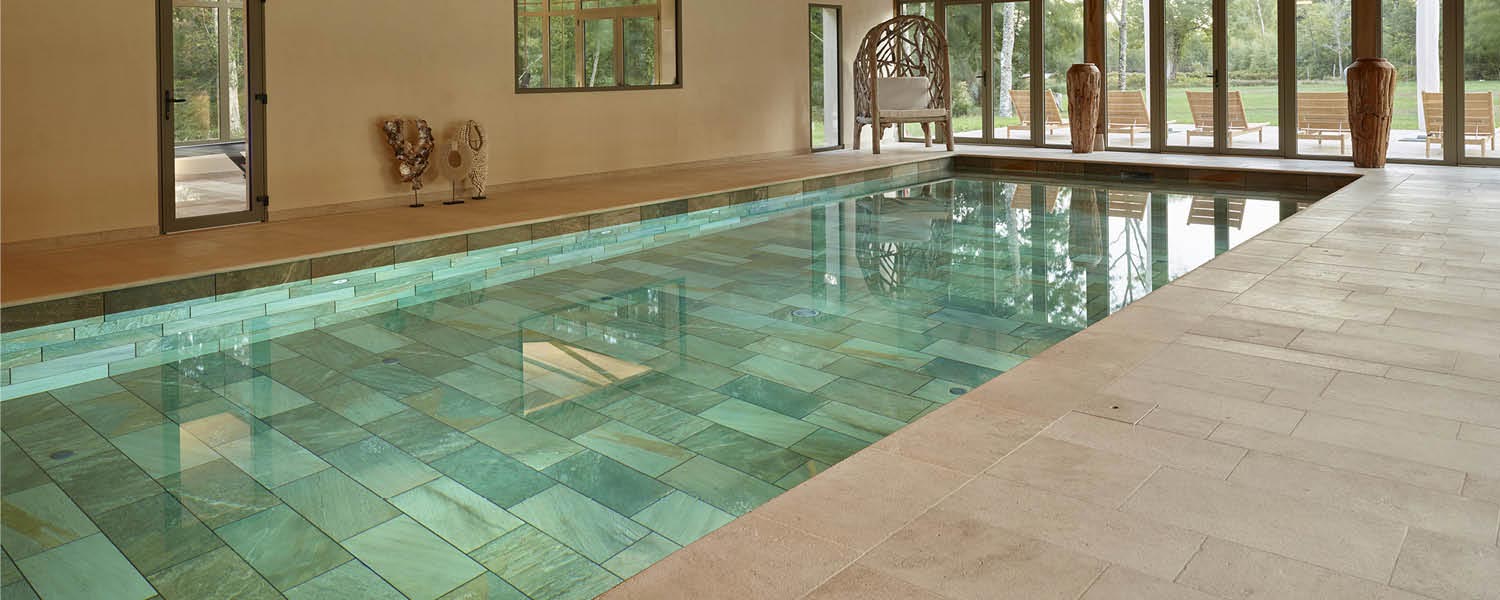
What properties does the ideal joint need?
— UV stable
— Solid colour
— Water repellent
— Pedestrian traffic resistant
— Flexible
— Super abrasion resistant to withstand rain and outdoor weather.
The correct choice of joint type, according to the conditions of each project, is essential to achieve a perfect finish.
What properties does the ideal joint need?
— UV stable
— Solid colour
— Water repellent
— Pedestrian traffic resistant
— Flexible
— Super abrasion resistant to withstand rain and outdoor weather.
The correct choice of joint type, according to the conditions of each project, is essential to achieve a perfect finish.


HOW TO SEAL EXPANSION JOINTS
How to
elastically
seal a
movement joint
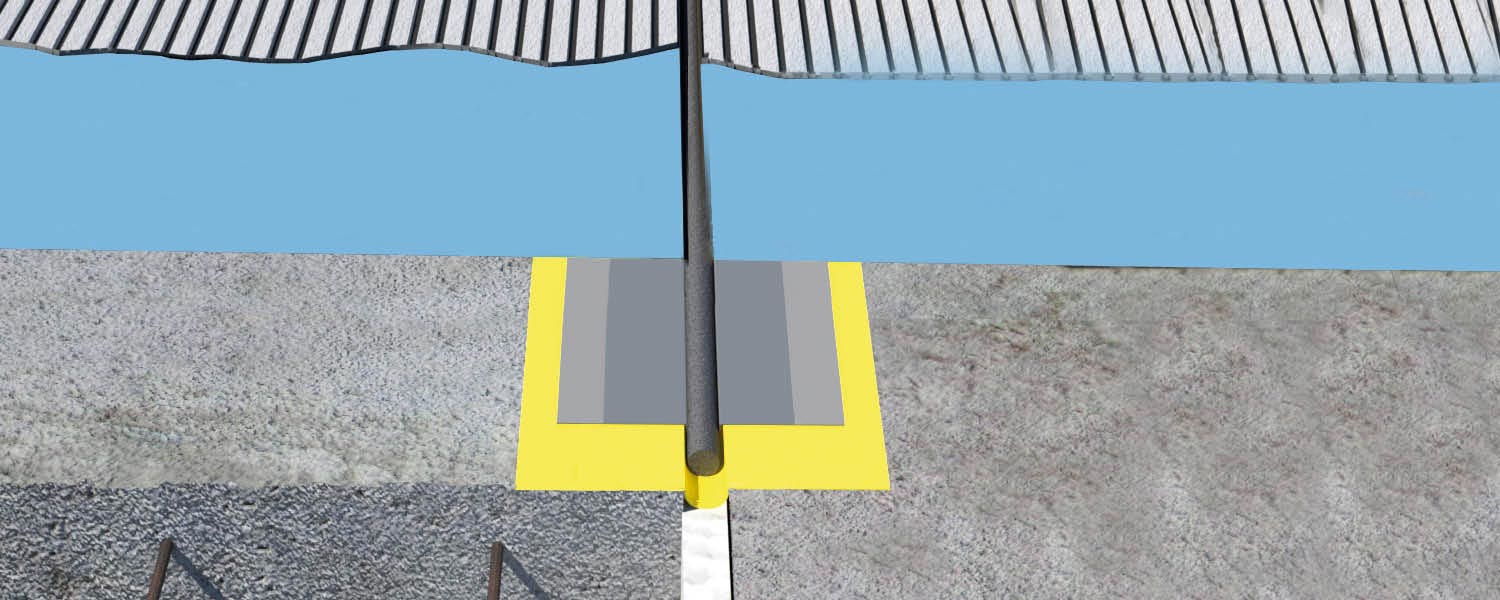
The location and layout of the expansion joints of the ceramic tiling must always coincide with the location of a movement joint.
To seal these joints elastically, use sealants complying with EN ISO 11600 and UNE-EN 15651, parts 1 to 5.
CONSULT OUR BLOG AND FIND OUT HOW TO DEFINE, CALCULATE AND MAKE EXPANSION JOINTS
How to
elastically
seal a
movement joint
The location and layout of the expansion joints of the ceramic tiling must always coincide with the location of a movement joint.
To seal these joints elastically, use sealants complying with EN ISO 11600 and UNE-EN 15651, parts 1 to 5.
CONSULT OUR BLOG AND FIND OUT HOW TO DEFINE, CALCULATE AND MAKE EXPANSION JOINTS